


Assignment Tool
The Real-Time Designer Assignment Tool helps you select the required options throughout the design process. It enables you to select from a variety of predefined Real-Time Designer elements and basic data types.
As you use Real-Time Designer to design the agent support experience, the Real-Time Designer Assignment Tool offers you the option to select any of the following: callouts, business entity types, business entity user instances, business entity properties, basic data types, such as Text, Date and so on, screen elements, workflows, event handlers, database connections and more.
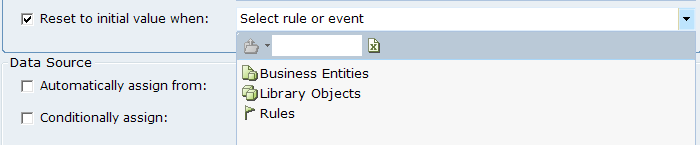
In each field where the tool appears, it offers only the relevant types of information for your selection and enables you to drill down among objects. Selecting an option from the drop-down menu assigns it as the value of the field.
You can select an option in the following ways:
From the drop-down menu, select the relevant option. If the item that you select has child items, selecting it displays the next level of options from which you can select. If the item does not have a child item, then selecting it assigns that item to the field.
For example, selecting the Callouts options displays the names of the callouts defined in the current project. You can then select a specific callout name to assign it to the field.
Click the Force select (do not drill down)  icon to select the displayed element, even if it has child elements. The Force select option can be used, for example, when selecting a list object that itself has functions that return a list of the same type, or when selecting a rule that has child rules.
This option only appears when applicable.
Start typing in the empty field to select from those options that start with the typed letters.

Click the folder icon  to move up a level in the hierarchy of options shown in this drop-down menu.
Click the ![]() icon to clear the current selection. This returns you to the window without affecting the value previously set in this field.
icon to clear the current selection. This returns you to the window without affecting the value previously set in this field.
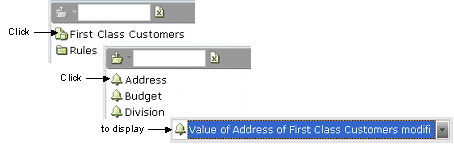
If you select a user instance called First Class Customers, its properties are offered for selection. You can then select a property to display it in the field. A short description of the selection appears in the field.
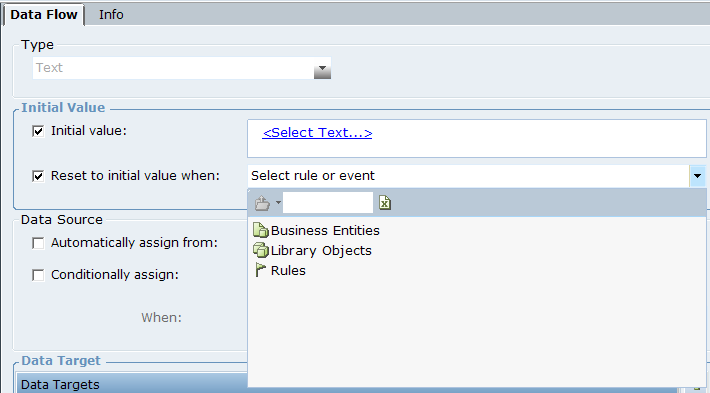
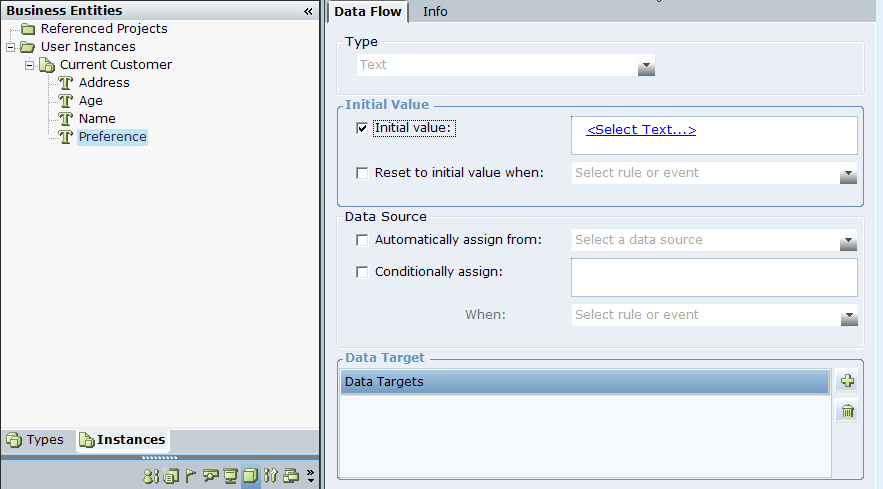
If you are setting an initial value for the Preferences property of the Current Customer user instance, which is selected in the User Instances tree (as shown below), select Initial Value to activate this field.
Click the <Select Text> link to display a drop-down menu of the types of objects you can select in Real-Time Designer:
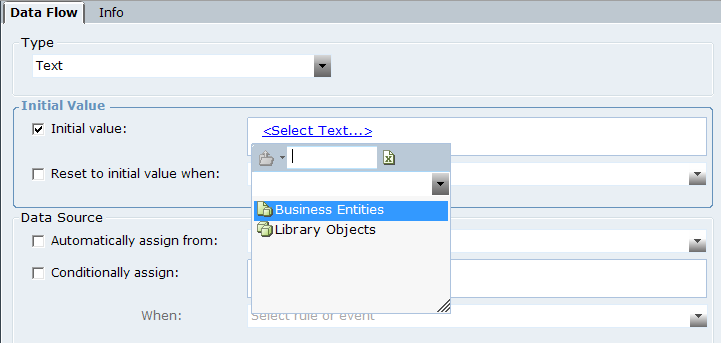
Select the Business Entities user instance to display a list of the business entities defined in Real-Time Designer.
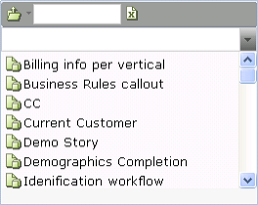
Select Demo Story to display a list of properties defined for that business entity.
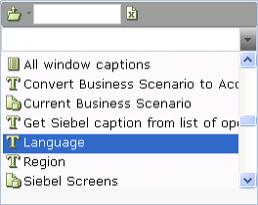
Select Language to specify the preference of this customer. The Initial Value of that user instance is displayed, showing that you selected the Language Property from the business entity Demo Story:

On the Real-Time Client, during runtime, the value in the Language Property of Demo Story will be assigned as the Initial Value of the Preference Property of the Current Customer user instance.
You can also enter an empty or blank value in <Select Text> link. To enter empty or blank value, click the value selection text box and press Enter. This is applicable where a parameter of a function accepts text value.
![]()